

- Movies & TV Shows
- Music
- Pets & Animals
- Sports
- Travel & Events
- Gaming
- People & Blogs
- Comedy
- Entertainment
- News & Politics
- How-to & Style
- Non-profits & Activism
- Trailer
- Anime
- Health & Fitness
- Automobile
- Real Estate
- Electronics & Appliances
- Ebook
- Dating
- Services
- Law & Order
- E-Learning
- Movies
- TV Shows
- Audio
- Light & Dark World
- GOD Music
- Graphics & Design
- Digital Marketing
- Writting & Translation
- Video & animation
- Programming & Tech
- Business & Investment
- Lifestyle
- SEO Analytics
- Chrismas
- Master Dance
- Twerk Style War
- Autoresponder
- Email Marketing
- Funnels
- Page Builder
- Astrology
- Other


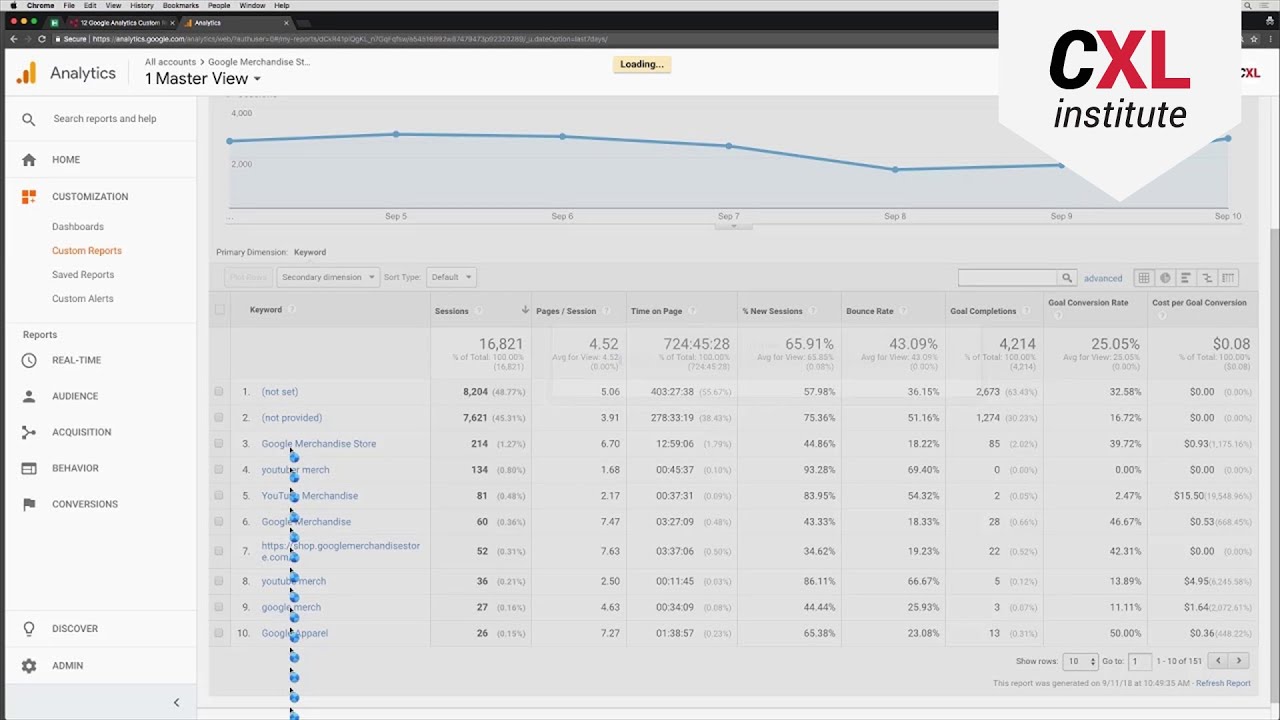


SEO Analytics within Projects

The Projects application allows you to manage and track analytics for each client that has a sub-account attached to your main account.
How to Connect the SEO Integration
The Analytics tab within the Projects application effectively acts as a mirror for the information captured within the Analytics application itself. If one of your clients is currently tracking SEO analytics within that application, their data will also appear within your Projects application.
There are two primary methods for connecting the SEO integration for your client:
Method One (The Preferred Method)
This method requires your client to connect the integration from within the Analytics application.
1. Click + Add New from the top of the page within the Analytics application.
2. Select SEO from the list of available integrations. Click Continue.
3. Follow the field prompts to enter the requested information. You can also use the tooltips available if you have any questions.
You will need to enter the website, the language of the website, the keywords you wish to track, and the locations you wish to track for the chosen keywords. Then, click Add Keyword.
You can use this to continue adding as many keywords as necessary. Then, click Continue.
4. Congratulations! You’ve successfully integrated your SEO analytics for your website. Note that new data will not appear immediately. As our system collects and processes your SEO data, your metrics will begin to populate within the SEO tab.
Method Two
You should use this method if your client cannot integrate their own analytics, but is willing to provide you with the necessary information.
1. Access the Projects application by using the app drawer in the top-right corner.
2. Locate your client within the column on the left-hand side of the page. Click on the client.
3. The page should be empty if no integrations are connected. Click on + Connect the First Integration. If another integration exists, simply select +Add New.
4. You will see an advisory notification that briefs you regarding Method One above. Select the SEO integration from the list.
5. Follow the field prompts to enter the requested information. You can also use the tooltips available if you have any questions.
You will need to enter the website, the language of the website, the keywords you wish to track, and the locations you wish to track for the chosen keywords. Then, click Add Keyword.
You can use this to continue adding as many keywords as necessary. Then, click Continue.
6. Congratulations! You’ve successfully integrated your SEO analytics for your website. Note that new data will not appear immediately. As our system collects and processes your SEO data, your metrics will begin to populate within the SEO tab.
For an in-depth review of the metrics covered in your analytics, be sure to check out the descriptions in our help article here: https://help.dashclicks.com/en..../articles/5922950-se
Need additional support? Visit our help center:
? https://help.dashclicks.com
Don’t have a DashClicks account yet? Signup for free here:
? https://www.dashclicks.com
